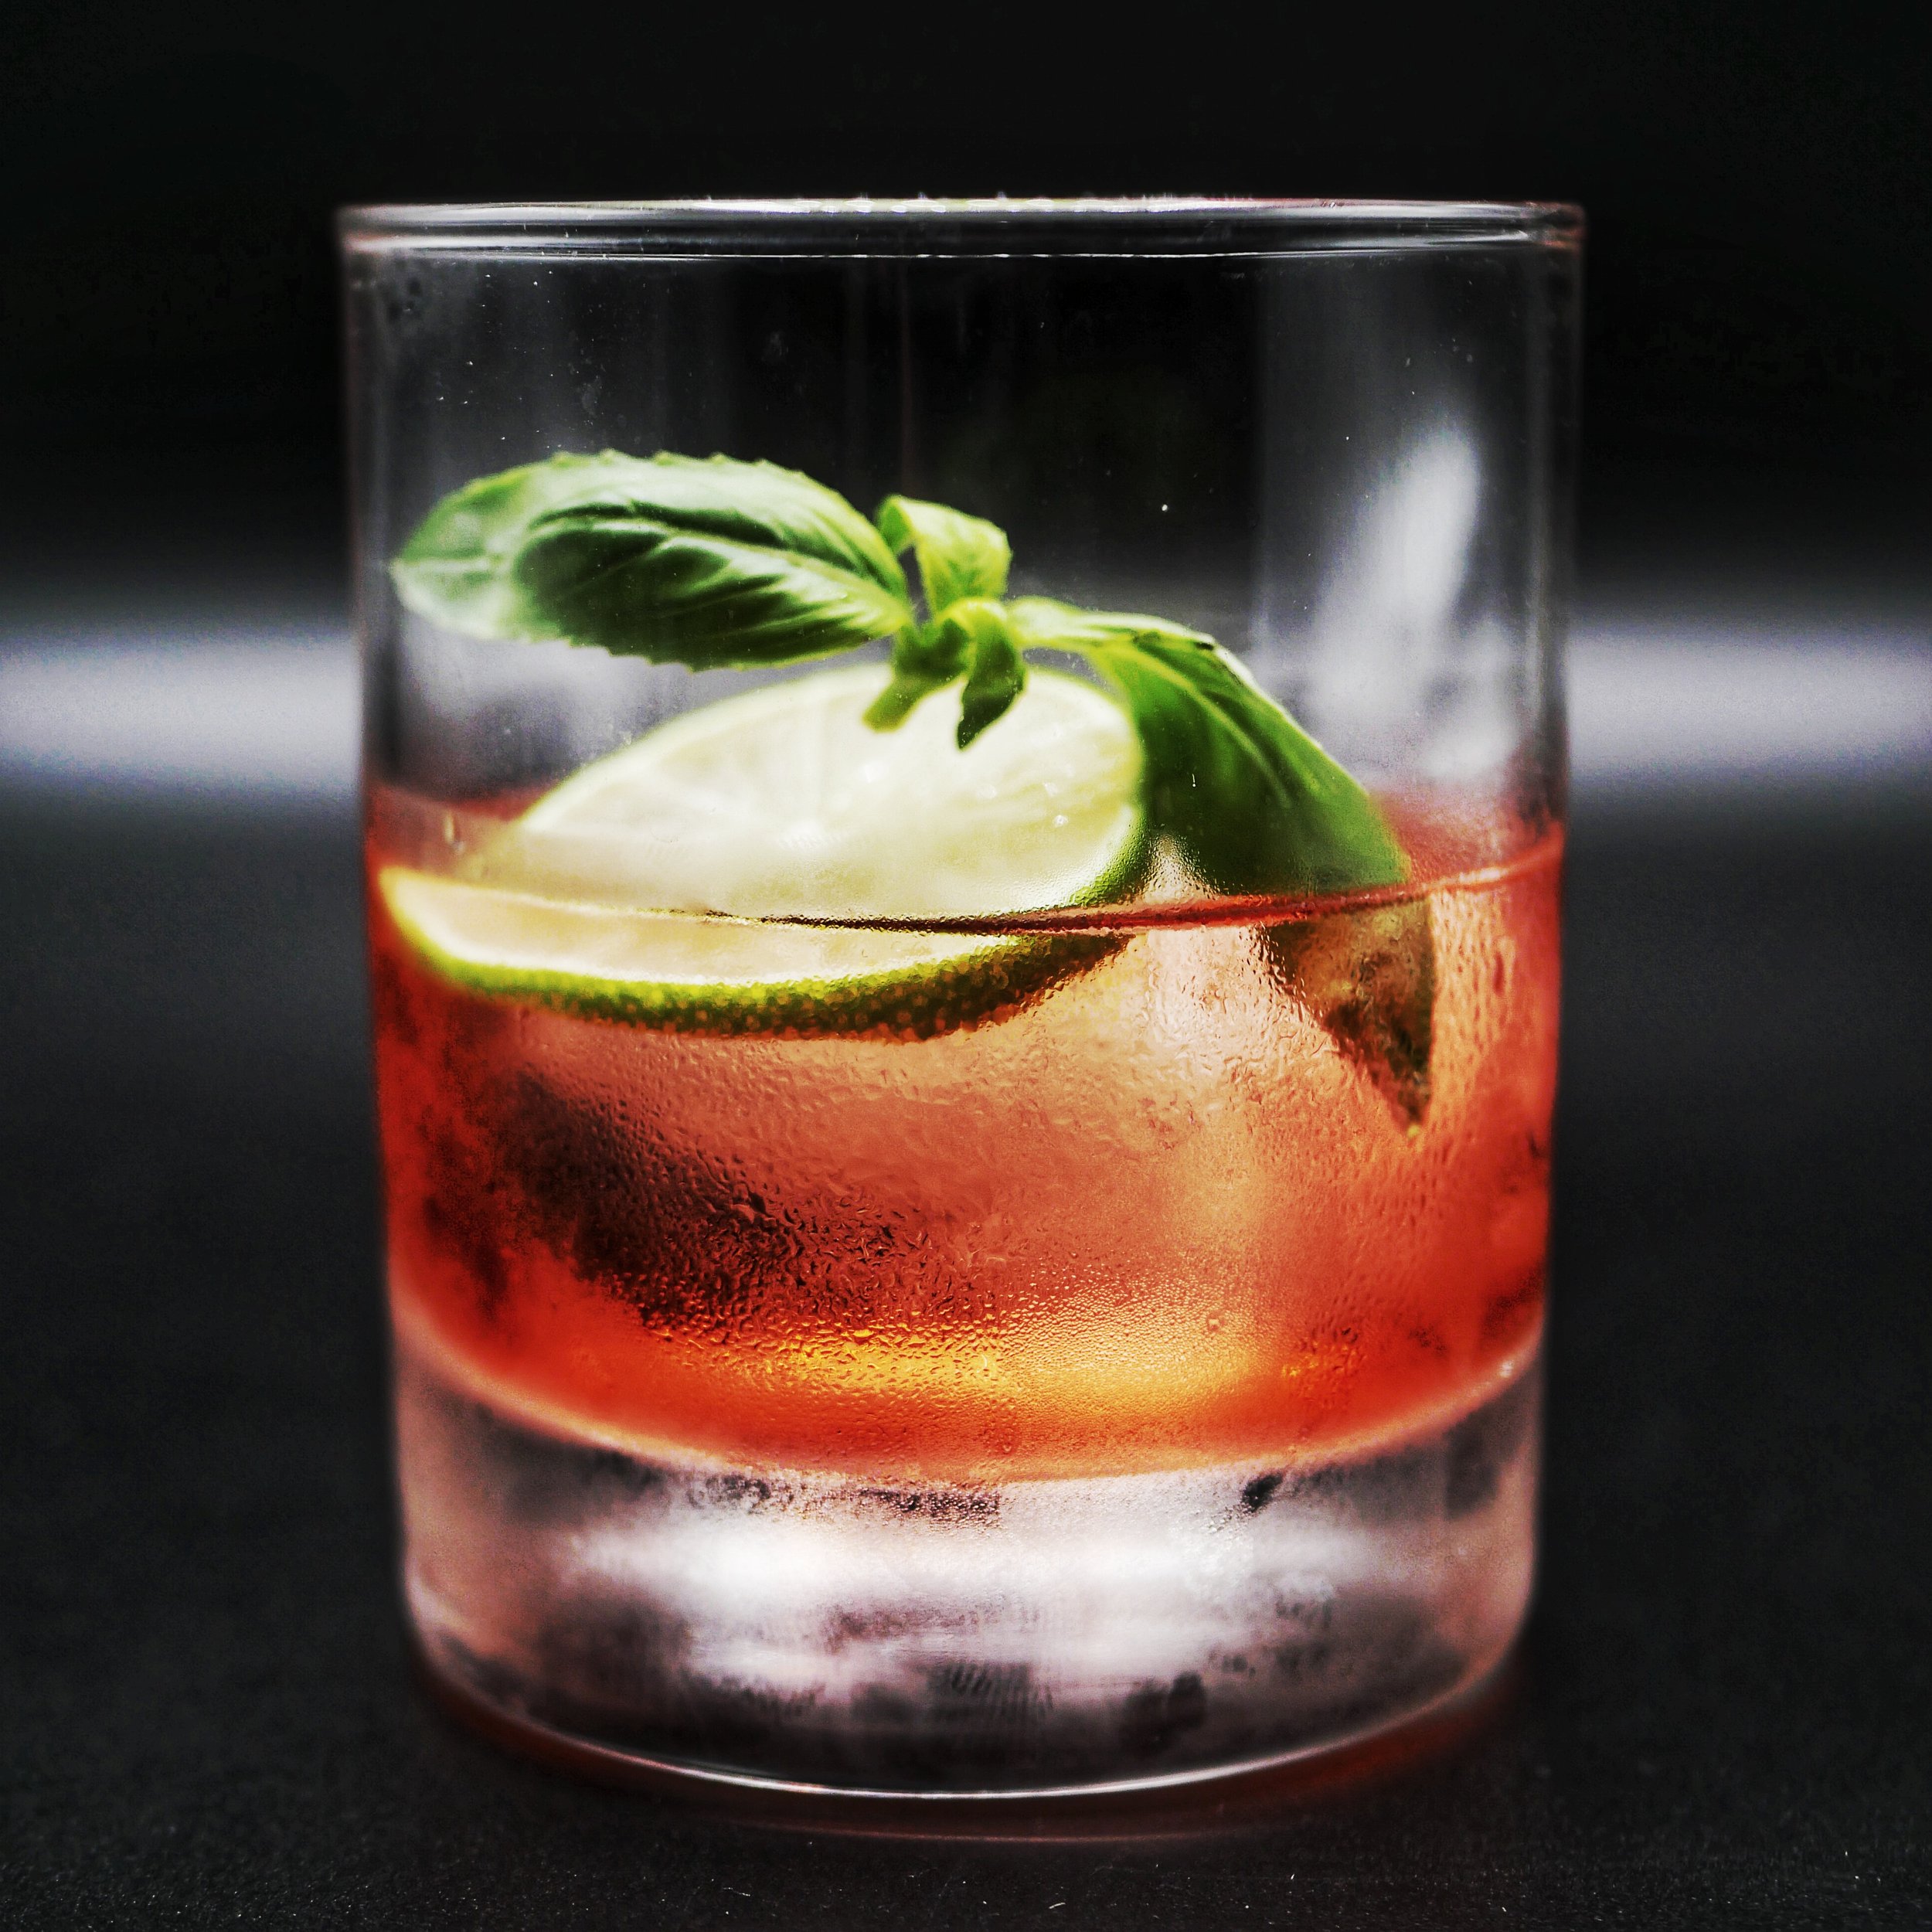
Illuminate your drinks with backlit.
Mastering Backlit Product Photography for Beverages
Backlit product photography is a magical technique that can transform ordinary beverage shots into striking, professional-looking photos. Whether you’re shooting a colorful cocktail or an elegant bottle of champagne, creating a glowing, illuminated effect from behind adds a premium, high-end look to your work.
As a photographer, mastering this technique allows you to elevate your portfolio, especially for food and beverage clients who want their products to stand out. In this guide, I’ll walk you through the key settings, techniques, and tips to capture stunning backlit shots using my Lumix S1R and Godox V1 flash.
Why Backlit Photography Works for Beverages
In beverage photography, the play of light through translucent liquids like champagne, wine, or cocktails creates a visual allure that can’t be achieved with standard front lighting. Backlighting accentuates the liquid’s clarity, enhances the bubbles or textures, and gives the subject a clean, sophisticated glow.
Step-by-Step Guide: Setting Up Your Shot
1. Setting Up the Lighting
The key to backlit photography is having a light source behind your subject. This can be a softbox, flash, or continuous light. For beverages, the light should hit the drink from behind and slightly above to create a natural, radiant effect.
For example, when shooting cocktails or bottles:
Use a Godox V1 flash placed behind the glass at a 45-degree angle.
Place diffusers in front of the flash if the light is too harsh.
If you’re shooting a transparent or translucent bottle, ensure no unwanted reflections bounce off the bottle’s surface.
2. Positioning the Bottle or Glass
Place the beverage in the center of your frame to give it focus.
Use props like garnishes (fruit slices, mint leaves) for cocktails or ice cubes to create texture and interest.
Tilt the glass slightly if you want to highlight any floating elements like fruit pieces or bubbles in champagne.
3. Camera Settings for Crisp, Clean Shots
Your camera settings will depend on the strength of your light source, the transparency of the beverage, and the environment. However, here’s a good starting point for different flash power levels using the Lumix S1R and Godox V1 flash.
ISO: Keep ISO low to avoid introducing noise, especially in darker settings.
Shutter Speed: A faster shutter speed (1/125 or higher) will help capture a sharp image without motion blur.
Aperture: Use a wider aperture (f/2.8 to f/5.6) for cocktails and a narrower aperture (f/8 to f/11) for clear, detailed bottle shots.
Creative Ideas: Using a Glow Stick for Special Effects
One of my favorite techniques to make a bottle look even more extraordinary is using a glow stick as a light source behind a translucent bottle. I recently used this technique on a champagne bottle, and the results were spectacular. Here’s how I did it:
1. Place a glow stick behind the bottle, slightly offset from the center.
2. Position the flash above the glow stick to blend the natural light and glowing effect.
3. Adjust the shutter speed and ISO to capture the subtle glow and not overexpose the highlights.
This approach works exceptionally well with transparent bottles because the glow stick adds an ethereal glow that accentuates the liquid while keeping the bottle’s edges sharp and well-defined. You can use this effect for champagne, wine, or even flavored soda bottles for a fun, vibrant look.
Key Tips for Best Results
1. Diffusion: If the backlight is too harsh, use a diffuser or bounce the flash off a reflective surface for softer light.
2. Focus Stacking: To ensure that every part of your beverage is perfectly sharp, you might want to try focus stacking. This technique is especially useful when photographing intricate drinks or detailed bottles. (For more on focus stacking, check out my Focus Stacking & Macro Photography Guide.)
3. Use Reflectors: To fill in shadows, place a reflector or white card in front of the drink. This will ensure the subject is well lit without losing the drama of backlighting.
Post-Processing for Perfect Backlit Photos
After capturing your photos, post-processing is essential for achieving the polished, professional look you’re aiming for. Here are a few adjustments I recommend:
Enhance the glow: Increase highlights and reduce shadows to emphasize the backlit effect.
Sharpen details: Use local adjustments to sharpen specific parts of the bottle or garnish.
Color correction: If the lighting cast unwanted color tones (like yellow or green), correct them in post-processing for a cleaner image.
Conclusion
Backlit beverage photography, especially with bottles and cocktails, can create stunning results with the right technique and setup. By carefully positioning your light source and adjusting your camera settings, you can capture eye-catching, professional images that stand out. Whether you're shooting with a Lumix S1R and Godox V1 or any camera with a basic flash, following these steps will give you a solid foundation for creating exceptional beverage photography.
If you're ready to take your photography even further, consider experimenting with other techniques like focus stacking, and be sure to reference my guide on that technique for an in-depth look.


